Digital Fabrication
Turning Pixels into Atoms
Digital modeling and fabrication experiments
I tend to find geometry and symmetry aesthetically pleasing so by using both 2D vector drawing and 3D modeling software tools I’m able to keep my designs precise and accurate and thus subjectively beautiful. All CAD software is capable of describing the geometry in terms of math – points on the surface and vertices. Working on a design I often find myself typing in numbers and commands rather than moving and clicking my mouse around. The exciting part of all these virtual creations is that it’s fairly easy to turn digital data into a physical object. Lines become walls, rectangles turn into cubes and circles morph into spheres. It’s fascinating for me to see how these points and vertices transform from our screens to art pieces and products that you can touch, hang on the wall, or gift someone for Christmas.
There is a huge variety of digital fabrications tools nowadays. From 3d printers and CNCs to vinyl printers and water jets cutters. The gap between design and manufacturing has been bridged because a lot of these fabrication machines are available on a hobbyist level. It’s an empowering movement that helps designers and artists to produce anything from prototypes to final products.

Processing Coasters
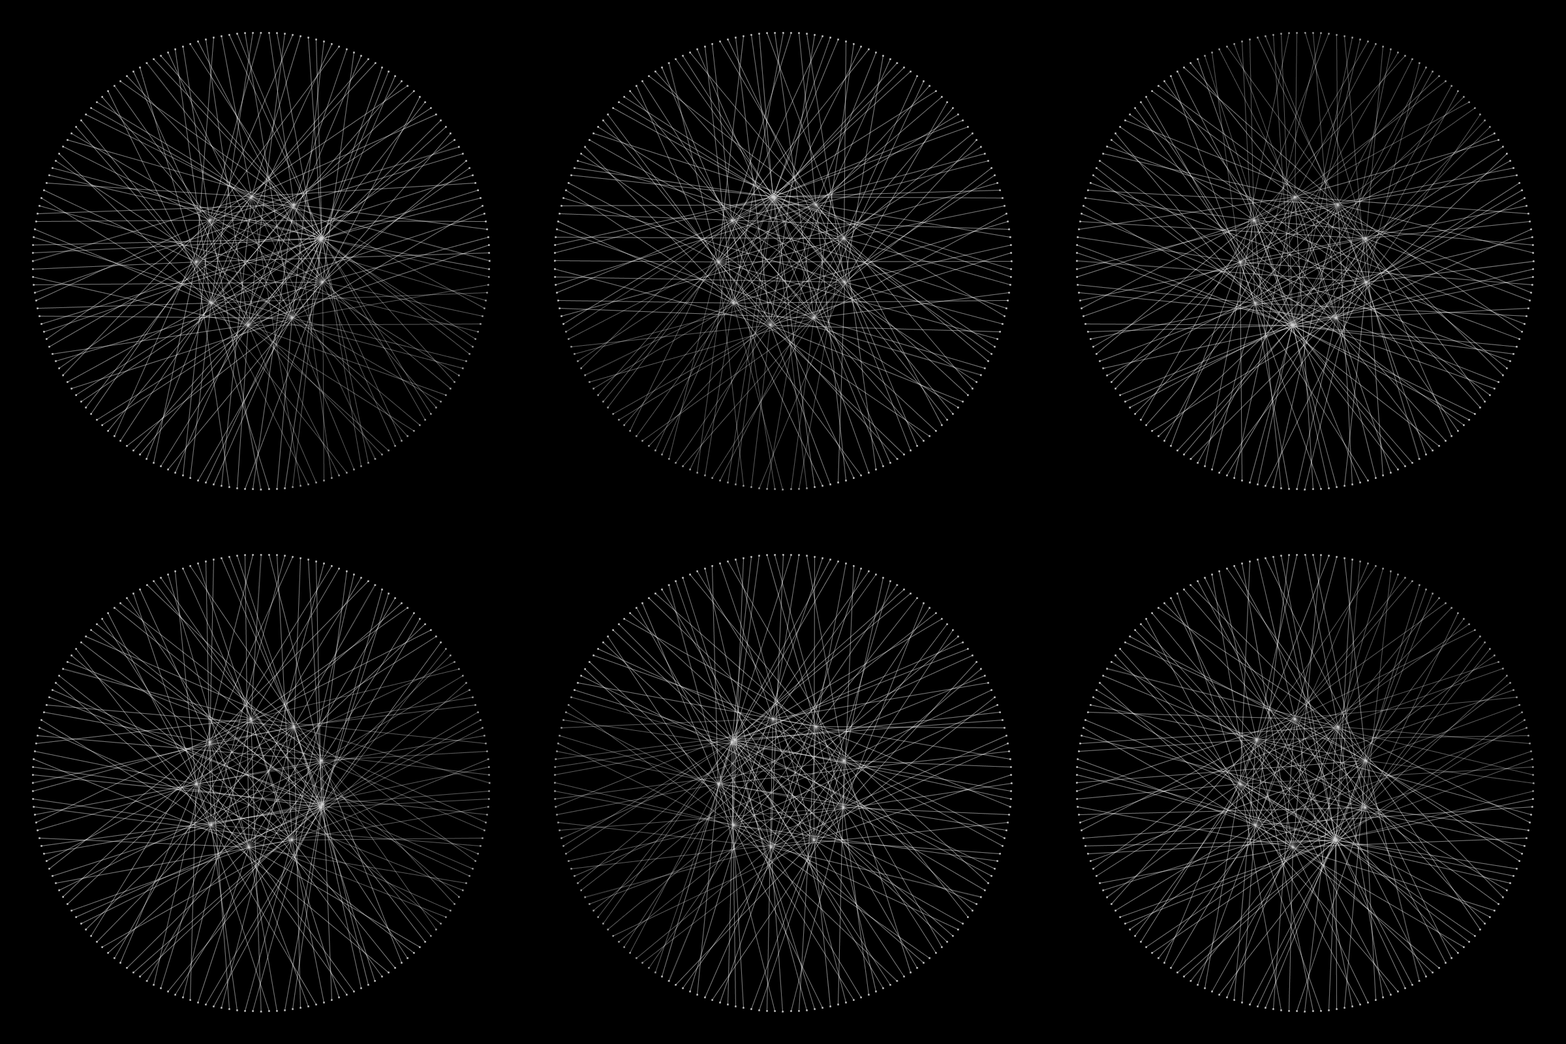
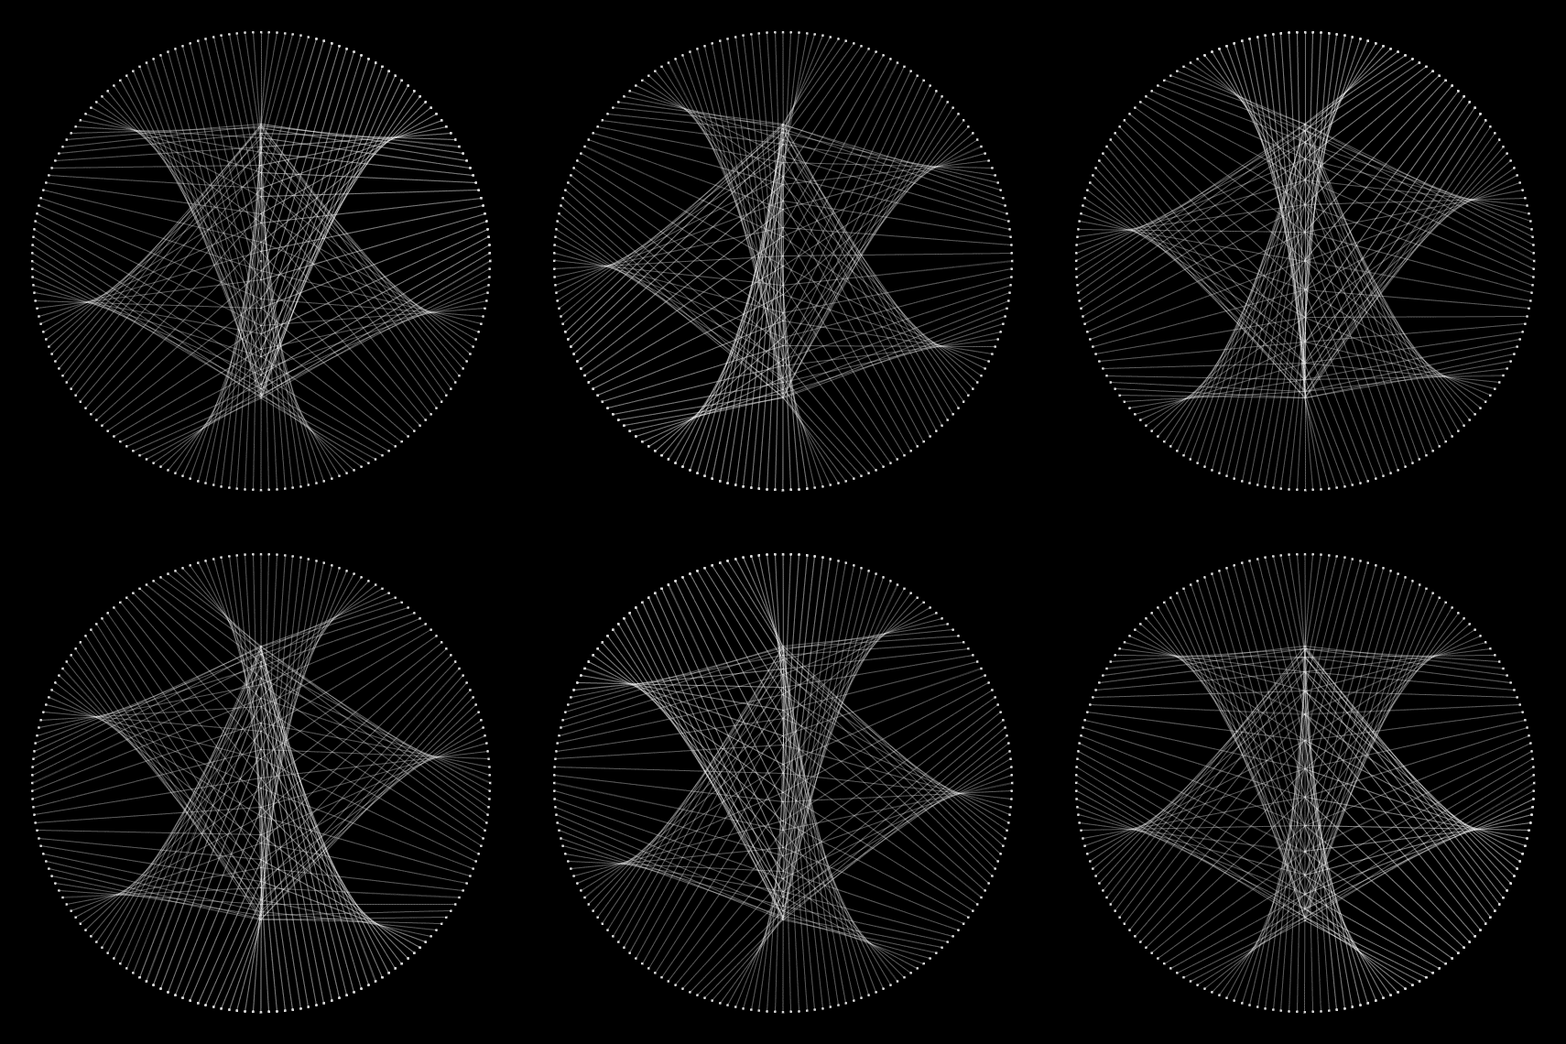
Processing was one of the first tools that I used for digital fabrication. Exploring various generative sketches in that environment I realized that the majority of these designs can be exported as vector graphics and thus can become tangible objects. These circular animations were a perfect candidate and were reborn as coasters. Using laser cutter I engraved these designs on a piece of transparent acrylic. Similar to holograms etched designs in transparent materials shine the brightest when they catch the light rays trapped in the cut-out channels.

3D Printing
3D printing is an additive fabrication process where objects are created by adding layers of materials on top of each other. This manufacturing method has been around for a while and a lot of people have 3D printers at home. I bought mine for only $300, however since it was a kit and it took me a month to assemble it and another five to properly tune and calibrate. A great experience to understand the mechanics of this technology.
I experimented a lot with a few of the most basic principles of 3D Design – rhythm and repetition. By duplicating and sequentially changing a form I created few objects that might seem complex but in reality, are quite straightforward. Using the same technique I 3D printed several household objects (candle holder, planters, and ornaments) that became a part of my cozy home in Brooklyn.

Laser Cutting
Another example of repetition are these wooden sculptures below. Essentially its the same shape receding into the center by sequentially reducing scale. After using laser to cut these shapes out I glued them together while alternating the placmenet angle of each shape.

Soviet Lamps
These lamp designs were inspired by extreme Soviet architecture and its brutal beauty. Spectacular forms and austere aesthetics of the Soviet buildings inspired the 2-dimensional motifs on the surfaces of these lamps. Original vector designs were drawn in Adobe Illustrator and later laser cut out of mirrored acrylics. To diffuse the source light I have added a sheet of frosted polycarbonate to the inner planes of the lamp structure.


